How to Create Irresistibly Fluffy Pancakes Step-by-Step
Unlock the secret to light, golden pancakes that will transform your breakfast routine!
Introduction: Rise to a Delicious New Morning
Imagine waking up to a plate of pancakes so light and airy that each bite melts in your mouth. Did you know that a little yeast and a few simple tweaks can take your pancakes from ordinary to extraordinary? In this article, you’ll discover a step-by-step guide to creating irresistibly fluffy pancakes, learn practical tips, and understand why these adjustments make all the difference. Whether you’re a beginner or a seasoned cook, this recipe promises to add a touch of magic to your mornings!
Table of Contents
What You’ll Need
Before you dive into the process, gather these ingredients and tools:
- Ingredients:
- Egg yolks
- Yeast
- All-purpose flour
- A pinch of salt
- A little sugar
- Warm milk
- Fresh red berries (for garnish)
- Honey (for garnish)
- Tools:
- Mixing bowl
- Whisk
- Skillet
- Spatula
Pro Tip: Using high-quality ingredients makes a huge difference. Check out our ingredient guide for more details!
Step-by-Step Guide to Fluffy Pancakes
1. Prepare the Batter
- Separate the Egg Yolks: Start by carefully separating the egg yolks and placing them in a bowl.
- Activate the Yeast: Add yeast to the yolks for that perfect rise. Stir well to combine.
- Mix in the Dry Ingredients: Gradually add all-purpose flour, a pinch of salt, and a little sugar.
- Incorporate Warm Milk: Slowly pour in warm milk while whisking continuously until you have a smooth, lump-free batter.
- Let It Rest: Allow the batter to rest for a few minutes so the yeast can work its magic and create those airy bubbles.
Quick Tip: A well-rested batter is the secret to pancakes with the ideal texture!
2. Cooking the Pancakes
- Preheat the Skillet: Heat your skillet over medium heat and lightly oil it.
- Pour and Cook: Pour a ladle of batter onto the skillet. Cook until the edges begin to firm up and the bottom turns a beautiful golden brown (about 2-3 minutes).
- Flip Carefully: Flip the pancake and cook the other side until it’s equally golden and crispy.
Watch & Learn: Consider watching our short video tutorial for visual guidance on each cooking step.
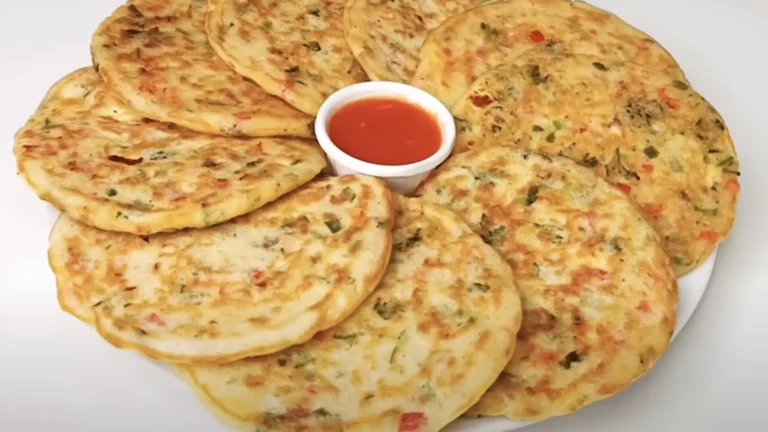
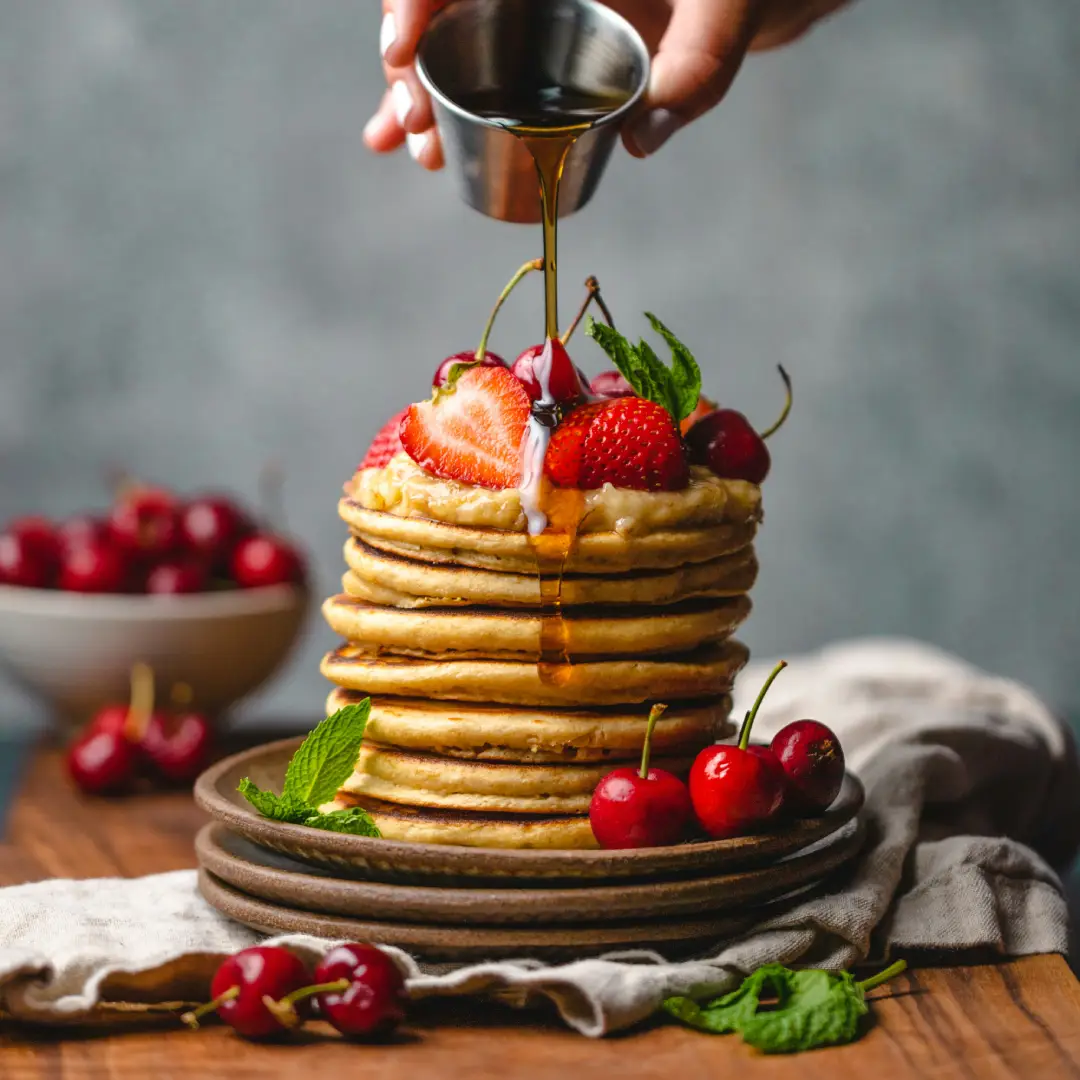
3. Garnishing for a Perfect Finish
- Top with Fresh Berries: Once cooked, transfer your pancake to a plate and garnish with fresh red berries.
- Drizzle with Honey: Finally, drizzle a generous amount of honey over the top for an added burst of flavor and shine.
Why These Pancakes Work
- Light & Airy Texture: The yeast not only helps the pancake rise but also creates a tender crumb.
- Balanced Flavor: The combination of a slight sweetness from the sugar and the tang from fresh berries and honey elevates every bite.
- Quick and Easy: With simple steps and readily available ingredients, these pancakes are perfect for any busy morning.
Trendy Kitchen Products to Elevate Your Cooking
- Smart Oven: Control cooking via your smartphone. View on Amazon
- Air Fryer & Multi-Cooker: Versatile, healthy, and efficient. View on Amazon
- Sous Vide Precision Cooker: Achieve perfect temperatures every time. View on Amazon
- Induction Cooktop: Fast, energy-efficient cooking. View on Amazon
- High-Tech Blender: Effortless smoothies and sauces. View on Amazon
Engage & Share Your Experience
Have you tried making these fluffy pancakes? We’d love to hear your creative twists and experiences!
- Comment below: Share your thoughts, any unique ingredients you’ve added, or questions you might have.
- Share on Social Media: Don’t forget to tag us and use the hashtag #FluffyPancakeMagic for a chance to be featured on our page.
- Explore More: Check out our related recipes here for more breakfast inspirations.
Conclusion & Recap
To sum it up, creating irresistibly fluffy pancakes is all about using quality ingredients, properly preparing your batter, and letting the magic of yeast do its work. Remember, the key steps are:
- Separating egg yolks and adding yeast
- Mixing in flour, salt, and sugar
- Slowly incorporating warm milk for a smooth batter
- Cooking to perfection in a hot skillet
- Garnishing with red berries and honey for a stunning finish
Stay tuned for more mouthwatering recipes and breakfast tips by subscribing to our newsletter. We’re always excited to share new culinary adventures with you!
Final Thoughts:
By following this detailed guide, you’re now equipped to create a breakfast masterpiece that not only satisfies your hunger but also delights your taste buds. Implement these strategies consistently, and watch your pancake game—and your blog’s engagement—soar!
Happy cooking and see you in the next post!
Frequently Asked Questions (FAQ)
- Can I use whole eggs instead of separating the yolks?
While whole eggs can work, separating the yolks helps achieve a lighter texture. Experiment to see what works best for you! - What type of yeast is best for these pancakes?
Instant yeast works well for a quick rise. You can also use active dry yeast, but be sure to activate it properly in warm water before mixing. - How long should I let the batter rest?
Allow the batter to rest for about 5–10 minutes. This gives the yeast time to activate and creates a fluffier texture. - Can I make these pancakes gluten-free?
Yes! Substitute all-purpose flour with your favorite gluten-free flour blend. The texture may vary slightly, so adjust liquid amounts if needed. - What’s the ideal skillet temperature for cooking these pancakes?
Medium heat is ideal. This ensures the pancakes cook evenly and develop a golden-brown exterior without burning. - Can I add other ingredients to the batter?
Absolutely! Consider adding mashed bananas, blueberries, or a sprinkle of cinnamon for extra flavor. - What can I serve these pancakes with?
They’re delicious on their own or paired with additional toppings like fresh fruits, whipped cream, maple syrup, or nut butter. - Do I need to use warm milk, or can I use cold milk?
Warm milk is preferred as it helps activate the yeast more effectively, leading to a lighter, fluffier pancake. - How do I know when to flip the pancake?
Look for bubbles forming on the surface and the edges beginning to firm up. Once the underside is golden brown, it’s time to flip. - Can I make a large batch ahead of time?
Yes, you can prepare the batter in advance and store it in the refrigerator for up to 24 hours. Give it a gentle stir before cooking, as it may thicken slightly.
Feel free to reach out with any other questions or share your pancake-making adventures in the comments below!
⭐ Did you try this recipe? Rate it & Share Your Experience!
Your feedback helps others and makes our community even better!
There are no reviews yet. Be the first one to write one.